DIY Holiday Decor: Sandy Suffield’s Twinkly Oak Branches
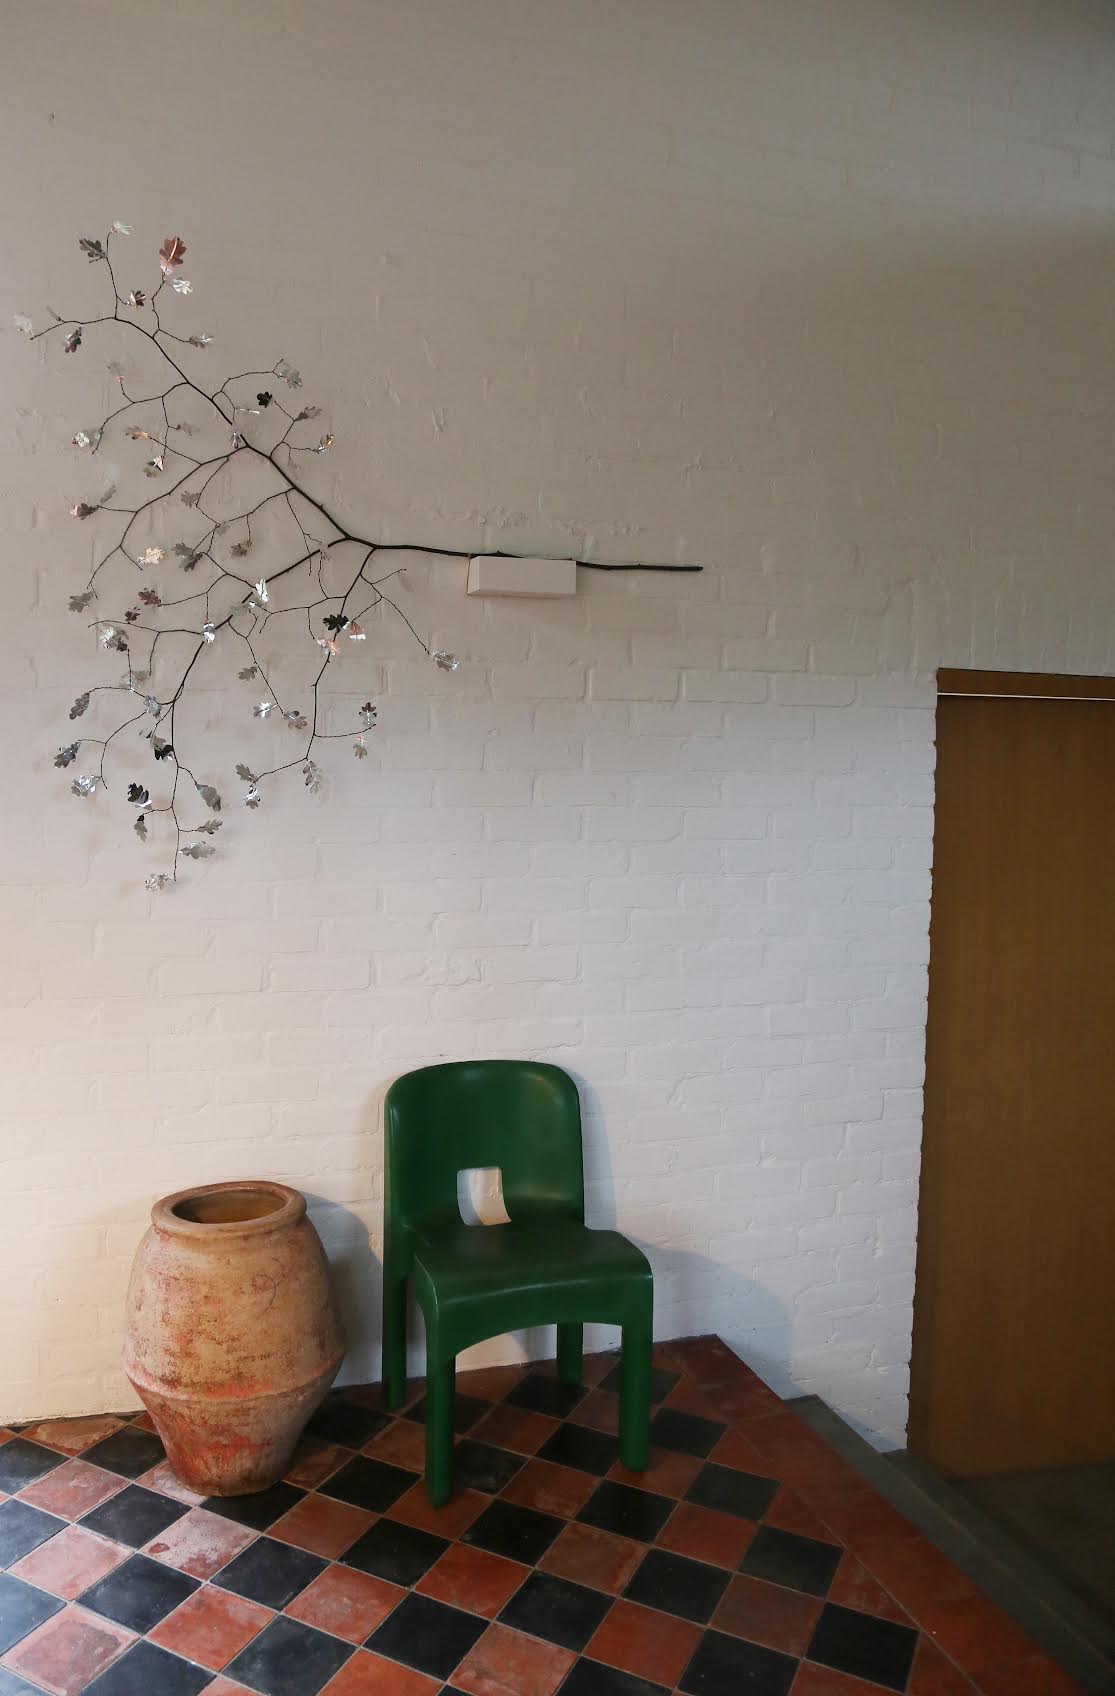
Sandy generously shared photos and even diagrams of how to make her festive branch. It can be displayed on a wall, mantel, or vertically, even as a stand-in for a Christmas tree.
Photography by and courtesy of Sandy Suffield, The Engine House Suffolk (@TheEngineHouseSuffolk).
Above: Sandy’s holiday leaves sparkle at the entry to The Engine House. We were happily surprised when Sandy reported, “The branch is super easy to make—I needed a change from the familiar twig decorations and happened to have all of the ingredients on hand.”
Above: Sandy began by heading out from here to gather the key ingredients. The Engine House was built at the turn of the 20th century as an electrical supply station for a nearby estate. Purchased as an abandoned wreck, it’s now a year-round, three-bedroom retreat.
Above: Oak leaves of all sorts are plentiful this time of year—just look up and on the ground. These are English oak.
Materials
Above: The essential materials.
The Ingredients
* Found leaves to use as templates
* A leafless branch
* Aluminum foil tape, available at hardware stores and made for sealing ducts. (Here’s an example: Ace Hardware’s 3-Inch Cold Weather Aluminum Foil Tape; 50 yards for $26.99) Be sure to select a tape that’s a little wider than your leaves.
* Wire—Sandy notes that twist-ties with their paper removed work well.
* Pencil
* Scissors—any should work; aluminum foil tape is easy to cut and to shape.
Above: The leaves are traced on squares of aluminum foil tape that’s folded over to give it more weight.
Above: A length of wire is sandwiched between the foil layers with a tail used for twisting the leaves onto a branch.
Step-by-Step Silver Foil Leaves
1. Measure the length of your longest leaf and cut your tape to double that (Sandy’s are approximately two inches long). Peel off the paper backing,
place cut tape sticky side up.
2. Place wire in the center of the tape, half way up the length, leaving at least an inch of wire sitting outside of the tape.
3. Fold the tape over at its half-way point, sandwiching in the wire.
4. Place a leaf over the folded tape, align the midrib of the leaf
with the wire.
5. Trace around the leaf with a pencil.
6. Cut out the leaf.
7. Take a walk and find a fallen branch!
8. Tie the leaf to the branch by winding the wire around it.
Above: Give the leaves a natural curl and they’re reading for hanging.
Above: Sandy’s instructional diagram.
The Finished Results
Above: Oak leaves work especially well—their shapes are lovely, instantly recognizable, and easy to trace.
Above: Shining in the light.
Browse the Remodelista archives for more Holiday Decor ideas. Here’s another Sandy Suffield DIY using materials on hand: The Engine House Paper Quilts
Good taste runs in the Suffield family: see A Shopkeeper’s 1930s Family Home in Winchester. | bit.ly/3XLoEJb
http://dlvr.it/TGtWNS


Comments
Post a Comment